Pages

Thursday 28 May 2015

Gas tank

Something that I puzzled over for a long time is the gas tank. What am I going to do for the gas tank? Then I found this in the back shop, it's a gas tank that is off of an old Briggs and Stratton lawn mower engine that isn't running. I looked like a good size for the bike so i took it. One problem is the fact that the carb was built into the gas tank. 


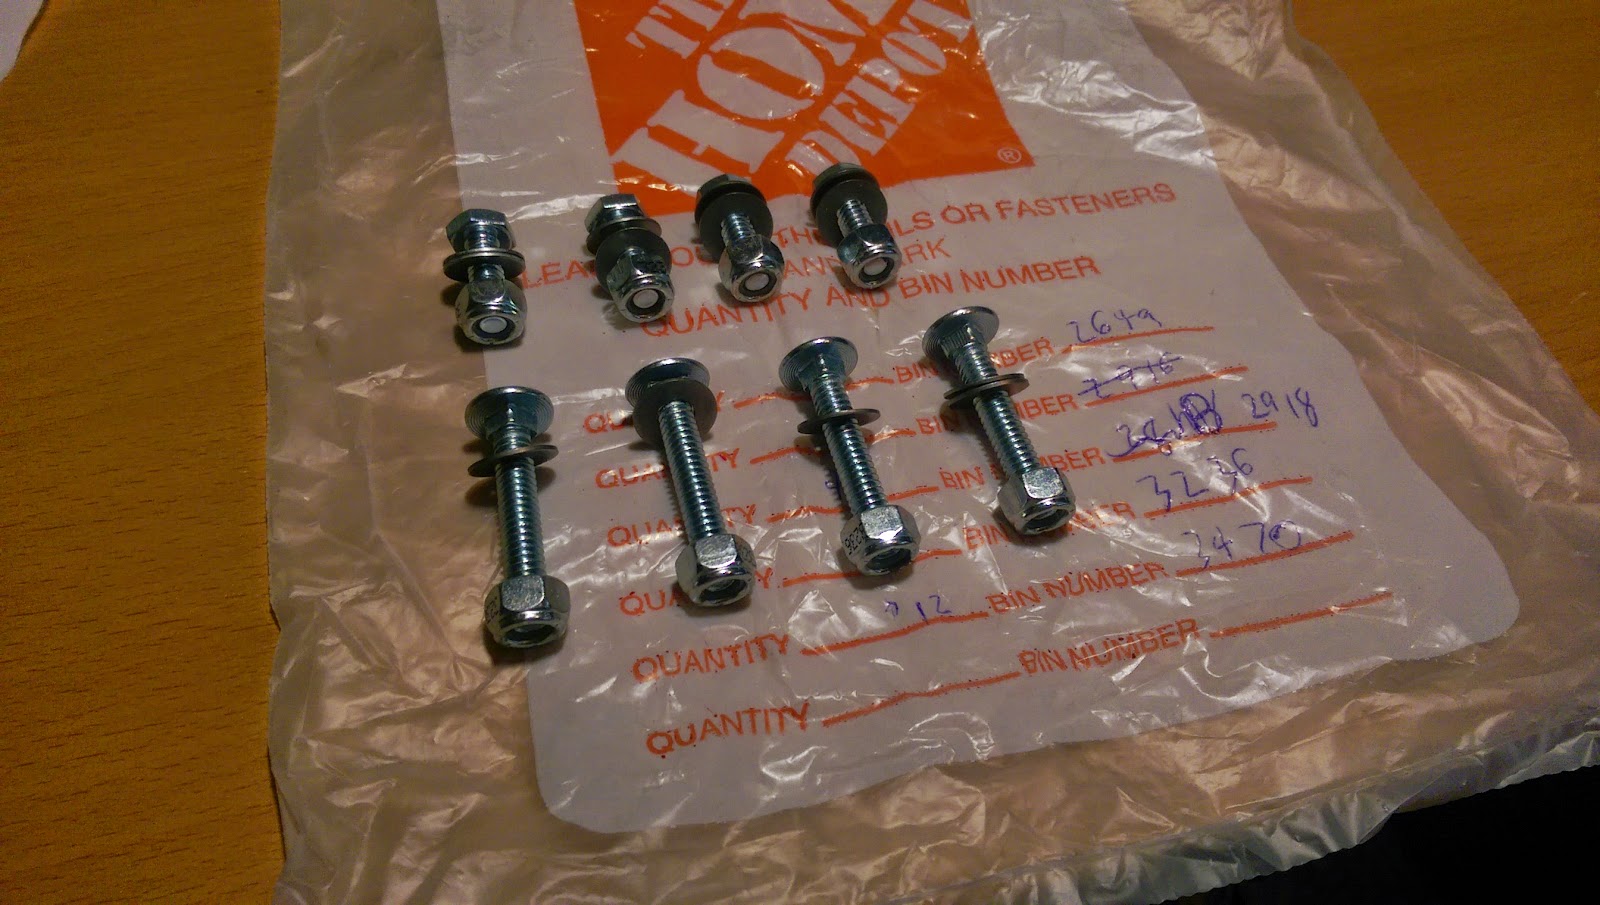
What I did to fix this problem is cut a metal plate to fit over the whole where the carb used to be. I used the gasket that was between the carb and tank to mark out the shape of the plate. I was also able to mark out the wholes for the screws this way. Once cut out I sanded the edges smooth, drilled wholes, and although I don't have a picture of it, I painted it gloss black.


Once the plate was done it was time to deal with the gas tank itself. First I stripped it of it's very old very bad paint job. For this I used a wire brush head on an angle grinder, this tool easily stripped the paint off the tank. Once stripped of paint there was another problem. I needed a spout on the bottom of the tank so gas could flow to the carb on the motor. My solution was to drill a whole in the bottom of the tank and use a strong adhesive called 'JB power weld' to secure a spout to the bottom of the tank. the JB weld worked like a charm holding the spout firmly.

Once the fuel delivery was dealt with I had to figure out my mounting system. I used lots of JB weld and some strong hose clamps to make the tank mountable. I used lots of JB weld to make sure the clamps would be secure enough to hold the tank after its been clamped to the frame.


Once all of the modifications were done with the tank, it was time for paint. So I used some masking tape to cover up all of the places I didn't want paint like in the tank so I covered the filler cap, and the area where the plate will go. Then I painted it with two coats of a nice new gloss black paint job that matches the plate. I looks really good now that it's done.

Friday 8 May 2015

Carburetor

The carburetor is the part of the motor that accurately mixes the appropriate mixture of fuel and air and feeds it to the engine. All carburetors do this seemingly simple action, but it's not as simple as it sounds. Most carbs (carburetors) have several jets, valves and other small moving pieces all which must act in perfect harmony make this process possible. over time build up of crud and debris "clog" these small moving pieces making them not work properly. My carb although seemed to work ok it defiantly needed some care. 


So I took my carb off for a good and thorough cleaning and problems started as soon as I took it off the intake manifold. First the gasket materialized as soon as the carb came off so I had to take a special tool and scrape of the remaining gasket.


As you can see from the pictures the area where this gasket was cleaned up quite nicely. But all this left me without a gasket for the carburetor to the manifold. So I am going to have to make a new gasket. Making this gasket will be covered in a latter post.


Once apart the carb looked actually more simple than most other I have dealt with. For actually cleaning it what I do is take it in sections. because there are too many small pieces you can't really just take it all apart at once. What you do is take a needle valve or some other small part out take it apart, clean it then put it back together and reattach it to carb body. To clean it I can do several things, first I can spray it with a chemical the chemical is called carb cleaner. If this doesn't work I can gently clean parts by rubbing them with steel wool to almost sand of the crud.

If neither of these strategies works I leave the parts to soak in gas over night to loosen up the all of the build up. After it's soaking I will then go and use one of the previously mentioned strategies to remove the remaining crud.


When I was taking apart parts of the float bowl I came across this jet. It was so heavily corroded that typically I would have just gone and ordered a new one from  a local small engine shop. But they wouldn't carry parts for this carb. So I spent much time and effort to get the jet even close to being usable. And more time, effort and carb cleaner to get it to passably usable. I couldn't get it any cleaner so I said it was good enough and reinstalled the jet.


Friday 1 May 2015

flywheel

When trying to service my motor for this project I wanted to fix my hack job fix on the ignition wire. When I found this motor the ignition wire was not there, well not complete. it looked like someone took wire cutters to it. I had the great idea to fix this I took some 12 gauge wire and soldered it to the ignition wire, then soldered that to another segment with a spark plug cap. This I thought was a sufficient fix for the time being but when this broke this spring I decided to do a proper fix for this problem.


To get to the root of the problem I had to take of the flywheel to expose the hidden ignition system. this is where the ignition wire originates. When I took the flywheel off I was very surprised to see how complex the ignition system for this engine was. The purpose of the ignition system is to provide  electricity to the spark plug so that it can detonate the fuel and air mixture in the combustion chamber. But in more common 4 stroke engines like this one the power stroke is every second rotation of the crankshaft. But because the rotation of the flywheel and crankshaft are in direct ratio the ignition system gets an electrical charge every rotation of the crankshaft. So this systems purpose is to only let charge to the spark plug every second rotation of the flywheel.


But my problem is finding a new wire to run from the ignition system to the spark plug. this isn't as simple as it sounds. Ignition wires run super high voltage, to make the spark jump in on the spark plug, this requires special kinds of wire. There are two kinds of ignition wire carbon wire which is what is the standard nowadays and high voltage copper wire which is what is on this motor. The high voltage copper wire hasn't been used in motors since the 50's which is the era that this motor is from. And because this type of wire was used so long ago they don't even stock it nowadays I can't find it anywhere. This was a problem but after much research I found a solution. Tube TV's, I discovered that tube TV's use a high voltage copper wire to send electricity to the bulb. So the plan right now is to find a Tube TV take this wire out of it and use it on my motor.

Wednesday 22 April 2015

Shopping

I realized that there were many things that I still needed in order to do much more work on my bike. I really couldn't to to much more without buying anything, I couldn't do any motor work cause i needed a flywheel puller. and i couldn't do any frame or bike work cause I needed to make and mock up other stuff first.


(sorry this picture is sideways)
So I went to princess auto to get some more parts, bits and pieces mostly. First I got some small wire brush wheels for a dremil. I am going to use these to do fine rust removal in small tight or awkward spaces, such as the gas tank or flywheel cover.


I also needed some clamps so that I can clamp the gas tank down. My plan with the two that I got is to weld the gas tank to them so that it can be easily mounted to the frame. the clamps that I got are for 1.25 In. piping which is the size of my frame tube.


I found these odd looking hose connecters, they are meant for air hose. But in my case I am going to custom fit one of them to the bottom of my gas tank, to allow fuel to flow from the tank to the carburetor. My problem with my tank is that I stole it off of an old lawn mower that had the carburetor built into the top of it. So there was no bottom feed for it. I now have to drill a hole in the tank and custom mount one of these to the bottom making my own bottom fed hose attachment.


These bolts I bought at home depot these are going to be used for the seat. For the bike I am going to be making my own seat, because it will be more comfy and I cur out the old seat post unintentionally. These bolts will be used to fasten the seat pad to the frame, and the seat frame to the bike.


This is a gear puller, not that I will be using it to pull gears though. My intentions for it are to use it to pull the flywheel off. This my sound very weird but frankly flywheel pullers are more expensive, and they aren't very different from one another. This one happens to be a 6 In. puller, I'm not sure how they measure it though because it is larger than 6 In. in just about every way. 


Finally I started to get down and do some more work on the bike. This is the flywheel cover, it basically guards the flywheel and directs the air flow, created by the fins on it, towards the motor for cooling purposes. As you can tell it was very rusty so I started sanding it with an angle grinder with a wire brush head. when I finish sanding it will be painted the same gloss black as the rest of the bike.


If you can't tell the rust left permanent damage on the flywheel cover in the form of pitting. although it doesn't look great the pitting has no real affect on the cover after paint besides it might look more like it was powder coated, with all of the ripples.


Sunday 15 March 2015

Pictures of What I've done

As you can see I had to make some pretty serious frame modifications to be able fit the 75cc engine in it. I had to cut the frame at the pedals and make it longer, I used the front fork off of another bike to make the frame ling enough to handle the engine the fork also made a extension because it offered a great spot to mount the motor to. I beefed up the top frame rail with a heavier stronger steel tube, and the back frame had to be reworked to make clearance for the motor. 
You will also notice that the engine also sits to one side. i did this to balance the bike side to side so it doesn't pull to one side or the other. The problem was that the flywheel was so heavy that I had to move the engine over so much in order to balance it that it sticks out the side. This lead to another problem when lining up the drive system. 
 
Because the engine was so far to one side there was no way of running a chain to the rear sprocket. What I did to solve this was add a gear casing thing to the side of the frame it has an axle that leads to another gear that lines up with the rear sprocket. this setup is a little awkward hanging out the side but it was the only way around the problem.
 

Friday 6 March 2015

What I've done so far

Hello everybody, and welcome to my blog. For my blog I will be going to  build a motorized bike. This past summer I started it and made good progress but didn't finish and since there is still a lot of work to do to get it done, I will be blogging about the rest of the build. So far I took a small bike, cut the frame, extended it using a front fork from another bike in order to make a spot to mount the engine I have selected to use. I also have beefed up many of the other frame components making it much more rigid in order to support the weight of a heavier than intended rider, and the motor/torque and chain drive. So most of the framework is pretty much done, there are still a few things like the seat that have to be custom fabricated, but other than that it will be sanding, painting and working out the drive system, clutching, braking and fuel delivery. Some pictures of how far I am will soon be up.